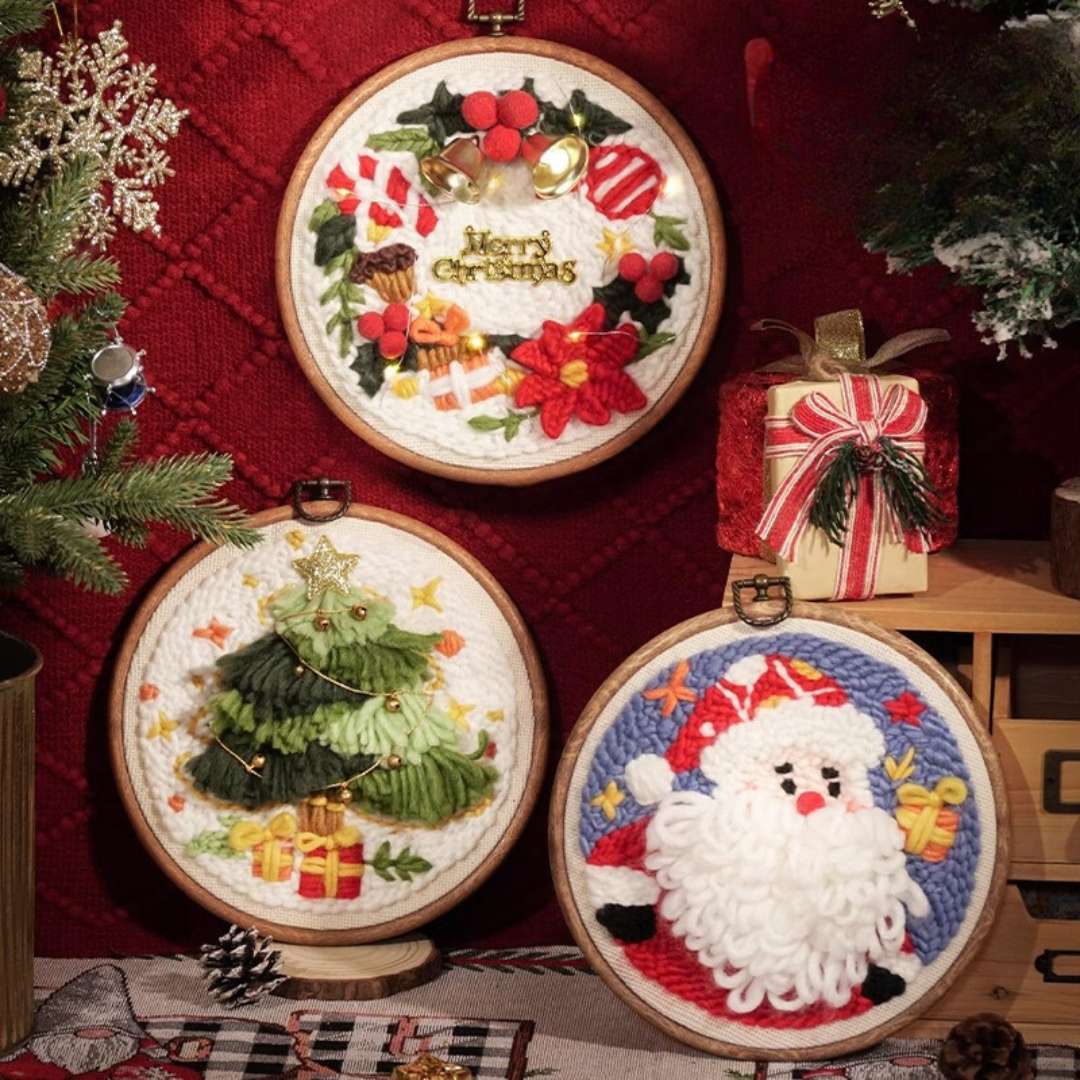
Here is the tutorial video for punch needle embroidery beginners. It can help beginners easily create unique punch needle art. We organized the 14 different shapes for punch needle beginners, including flowers, leaves, bows, and so on. After learning the methods for punch needle embroidery, you can create your own punch needlework.
Tips
1. About the distance between each poke
The distance from the previous poke is about 5-6 mm
2. About the direction of the needle
The direction of the needle needs to face the way you will poke. Follow the trace you prepare on the monk.
3. About the gear on the needle
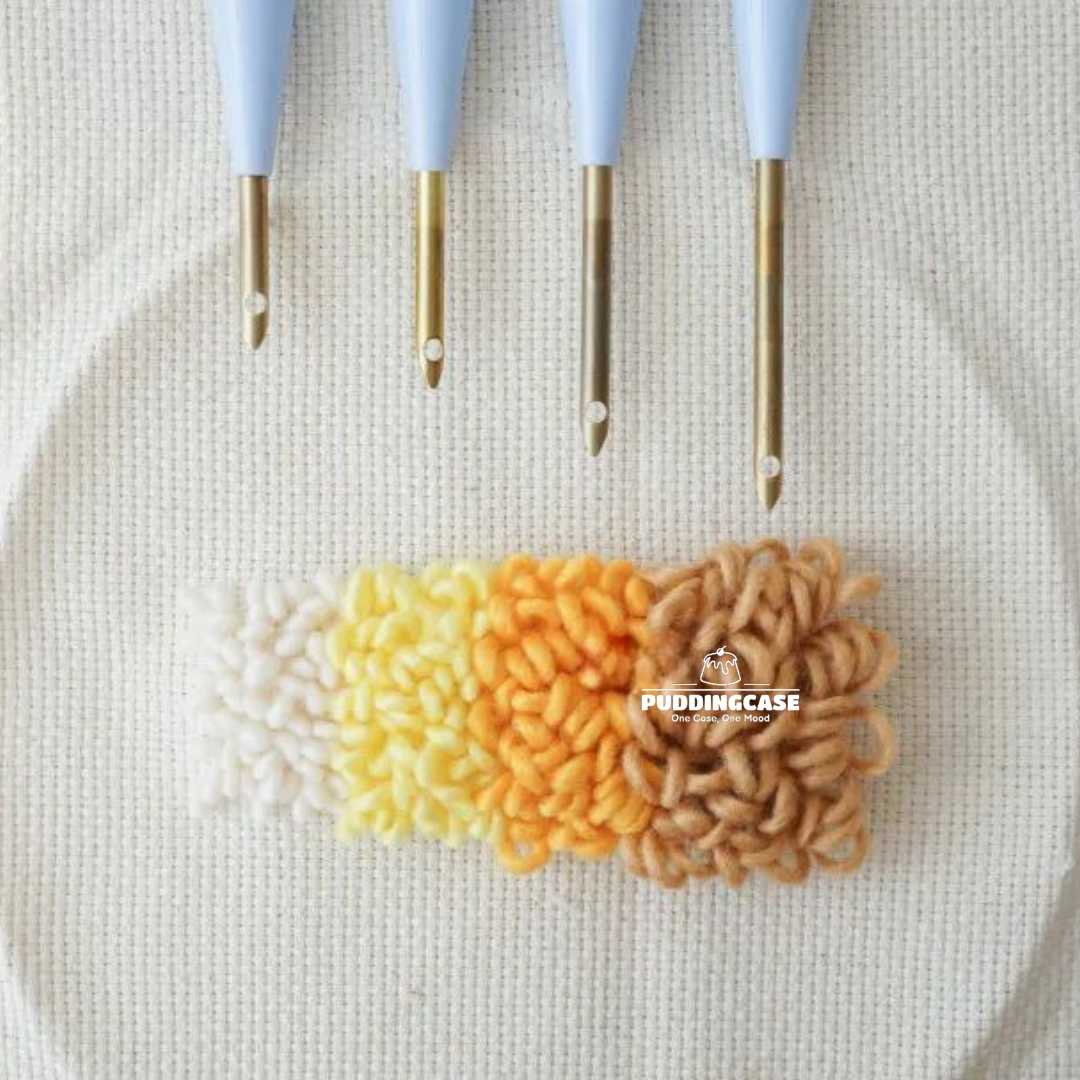
When you buy the punch needle kit on the Pudding Case, you will receive the needle with gear. Our needle has four gears: A, B, C, and D. Gear D is the shortest needle, and A is the longest. In our punch needle embroidery works, D is the most commonly used. If you encounter a part that needs to be poked back and forth repeatedly, to avoid slipping, you can adjust the poking needle gear to B or C. For roses, you need to adjust it to A.


